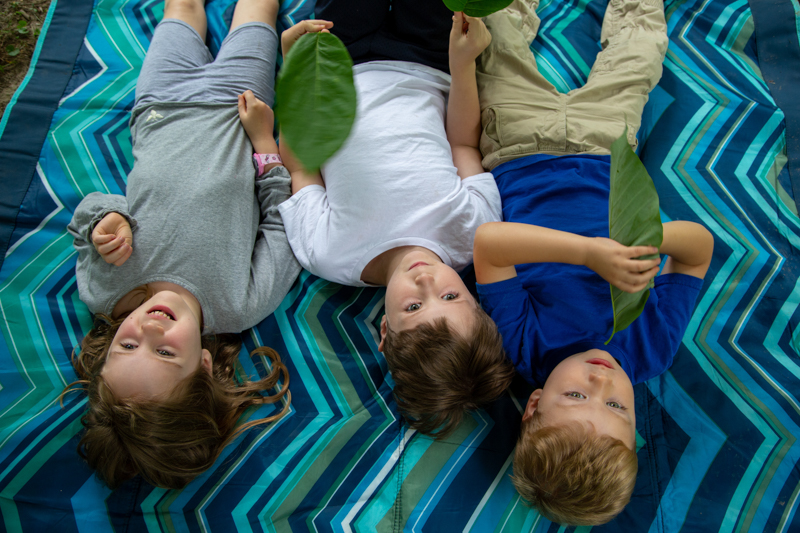
What To Do: With your child, lie on your back on a blanket under a tree. Look into the branches. Can you see the top branch? What patterns do you see? What other things are present? What animals can you find moving around in the tree? How do you think the tree will change with the wind and seasons? Close your eyes and listen to the leaves move in the wind. What other sounds do you hear? Feel the air on your face, arms and hands.

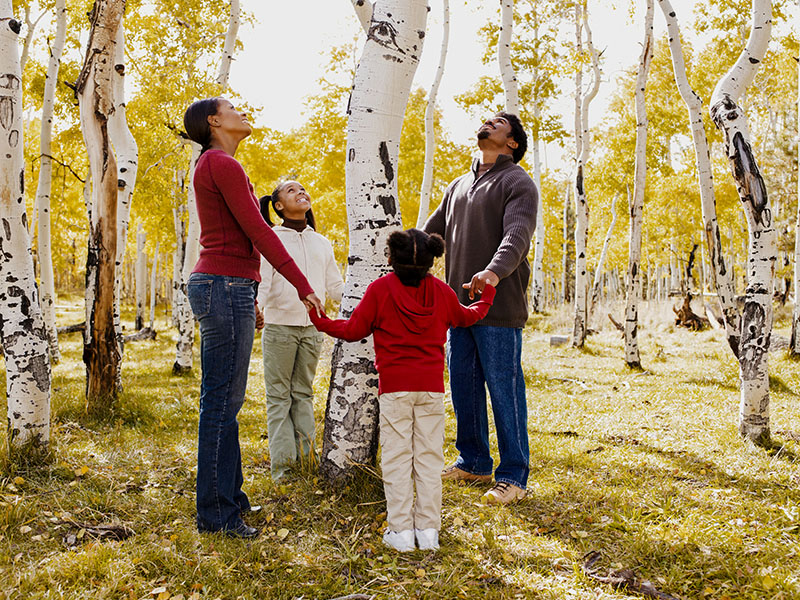
What To Do: Blindfold your child and gently lead them to a tree. Stand with them while encouraging them to get to know the tree through touch and smell. Encourage them to feel the bark, find branches, smell the bark and estimate how big around the tree is by hugging the trunk. While your child is still blindfolded, lead your child back to where you started. Now take off the blindfold and have them try to find their tree. When they find their tree, ask them what senses helped them to locate their tree? What things made that tree unique? Have them blindfold you and lead you to a tree.
What To Do: Collect some dandelion seed heads (when they have turned white). Then use finger paint to create a wet surface and blow the seeds onto your paper.
For a challenge, paint a circle then see if you can blow the dandelion seeds inside the circle. How many did you find? What part sticks best to the paint?
Activity field testing made possible in part by a PNC Grow up Great grant, an early childhood initiative designed to help prepare children for success in school and life.
What To Do: Place a plant such as a wild onion into the Ziploc bag and then pinch the plant (with your fingers outside the bag). Open the bag and sniff. You can then try this out with rosemary and pine needles. How do they smell? Which do you like best?
Activity field testing made possible in part by a PNC Grow up Great grant, an early childhood initiative designed to help prepare children for success in school and life.
What To Do: Take a walk in your yard or around a favorite park that you can visit often throughout the year. Have each member of the family pick a tree. Visit your trees often. This is a good way to remember a family member when they are gone whether they are just traveling or have died. You can plant a special tree to celebrate important family occasions, a birth, death or marriage. Have children make records of their family trees. You and your family can record the diameter of your tree’s trunk, determine the reach of its branches, make bark rubbings using crayons and paper, record what animals use the tree, smell its flowers and plant its seeds. Children can take pictures of the tree in its first snow or after a big wind storm. The possibilities are endless! If the tree dies, you can save some leaves or cut sections of the branches or trunk as remembrances. Enjoy the cycle!
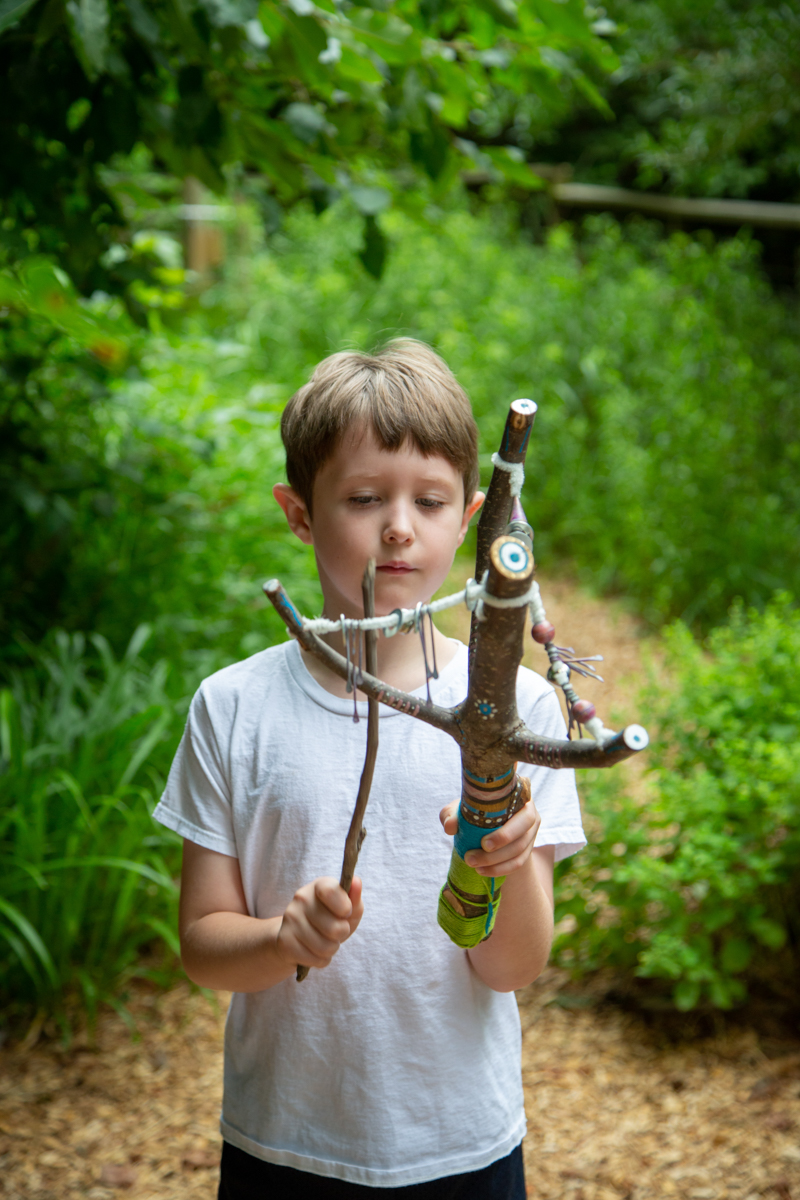
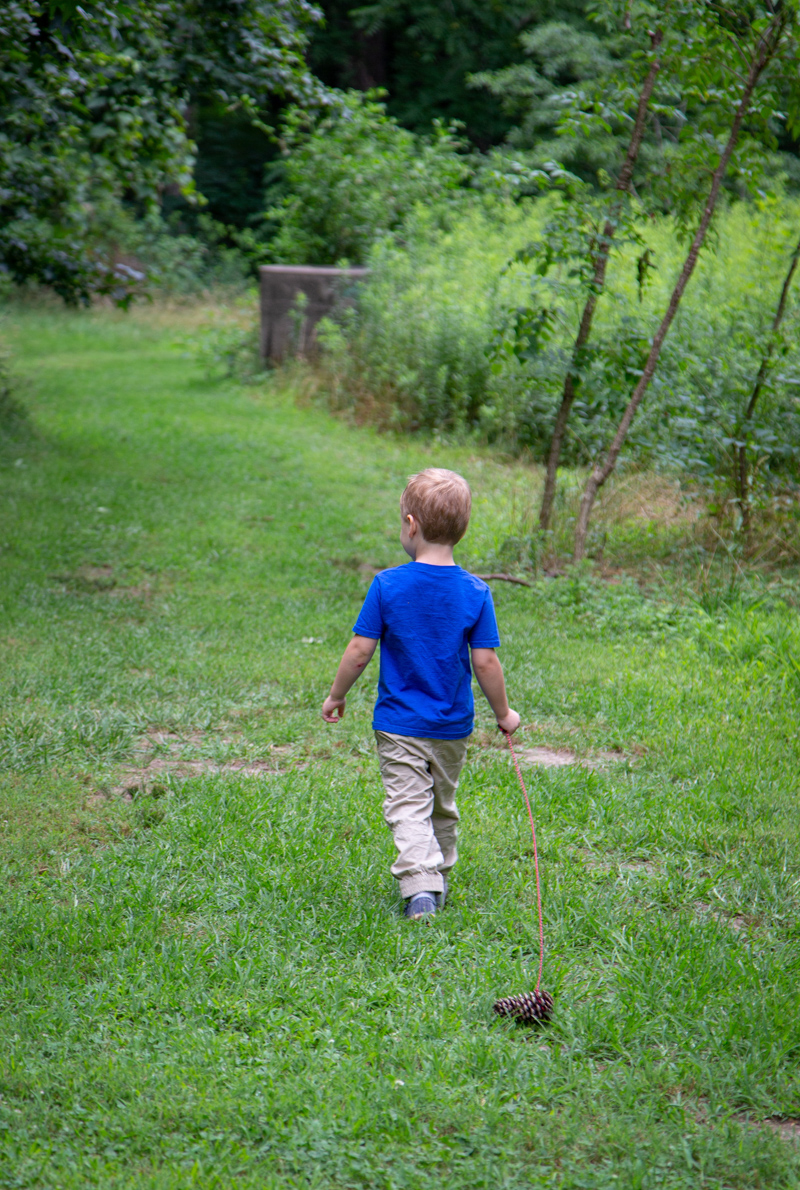
What To Do: Find your favorite stick and a large pine cone. Then tie the pine cone to the stick with twine or string. Take your pine cone for a walk or run!
Activity field testing made possible in part by a PNC Grow up Great grant, an early childhood initiative designed to help prepare children for success in school and life.
What To Do: Walk outside! How many trees do you see? Are they all the same? What is different about them? Compare the leaves, bark, flowers, buds — everything you notice. Collect the different leaves you find or take pictures. Press the leaves in a book or journal. Use a field guide to identify the trees. Can you identify them by leaves, bark and twigs? If you having trouble identifying the trees, take some leaves to a local nature center, park, arboretum or natural science museum.
What To Do: Find any long, fat piece of grass, although crabgrass works best. Pick a blade of grass and place it between your thumbs, holding it tightly at the top and bottom. The natural curve of your thumbs should leave a small opening in the middle. Put your lips to your thumbs and blow hard through the opening. You might have to practice a bit before getting a good sound. Different kinds of grass will make different sounds. Experiment and see what sounds you can make.
What To Do: Collect a variety of sticks that will fit in a used washed plastic food container. Draw or download from Web a variety of line drawings of simple shapes such as circle, square, oval, or diamond. Using sticks you’ve collected, see how many different shapes you can make! Can you make any letters? Can you make the letters of your name?
Activity field testing made possible in part by a PNC Grow up Great grant, an early childhood initiative designed to help prepare children for success in school and life.
What To Do: Collect a variety of sticks from outside. This is a great excuse for a nature hike. Choose thick and thin ones, straight and curved ones and bumpy ones. This way you can embed new vocabulary. Lay out the paints, sticks and paper beforehand. After a while of exploring with painting with the sticks, add some paintbrushes. Paint on the sticks themselves.
Activity field testing made possible in part by a PNC Grow up Great grant, an early childhood initiative designed to help prepare children for success in school and life.
What To Do: Begin by snapping sticks into lengths of about 8-10 inches. Next, peel the bark off the sticks. This is actually quite fun, and older kids might really get into this part. If your children are a bit young, they may find it tedious after a few minutes, and an adult may end up doing this part.
Give your sticks a quick sanding to remove any remaining bits of bark and rough ends. Apply several coats of paint. The sticks will dry quickly in the sun. An adult can spray with acrylic varnish when dry. This step is important because these sticks will be hanging in the yard, and the varnish will offer some protection from the elements. When the sealant is dry, screw in a tiny screw-eye into one end of each stick. An adult may need to start each one, and the children can finish twisting them in.
Tie a long length of acrylic yarn to each hook and tie to main holder. This can be a long stick or something interesting that you find (a circular-shaped metal object, a wooden embroidery hoop).
Activity field testing made possible in part by a PNC Grow up Great grant, an early childhood initiative designed to help prepare children for success in school and life.
What To Do: First, start with your sticks. They might need a bit of sanding to smooth out rough edges. You might want to leave them natural or paint them. Once painted, then you’re ready for creating your own design. Experiment with different paint or try this idea:
If you look at most Australian Aboriginal art, it’s formed by a series of dots that create a picture. You can make these dots by dipping a Q-tip in craft paint and then touching it to the surface of your stick. Since forming patterns with dots can be a bit unfamiliar, it’s a good idea to play with the Q-tips and dot patterns on a piece of paper first. Once you’ the gotten the hang of it, move on to decorating your sticks. Once you’re happy with what you’ve created, you can seal the project with a coat of clear varnish, if desired.
Traditional bilma are played by holding one stick in place in one hand and tapping on top of it with the other clapstick. You can play like this or you can experiment with tapping the sticks together in any number of other ways. Sing a favorite tune and tap along in time!
Activity field testing made possible in part by a PNC Grow up Great grant, an early childhood initiative designed to help prepare children for success in school and life.
